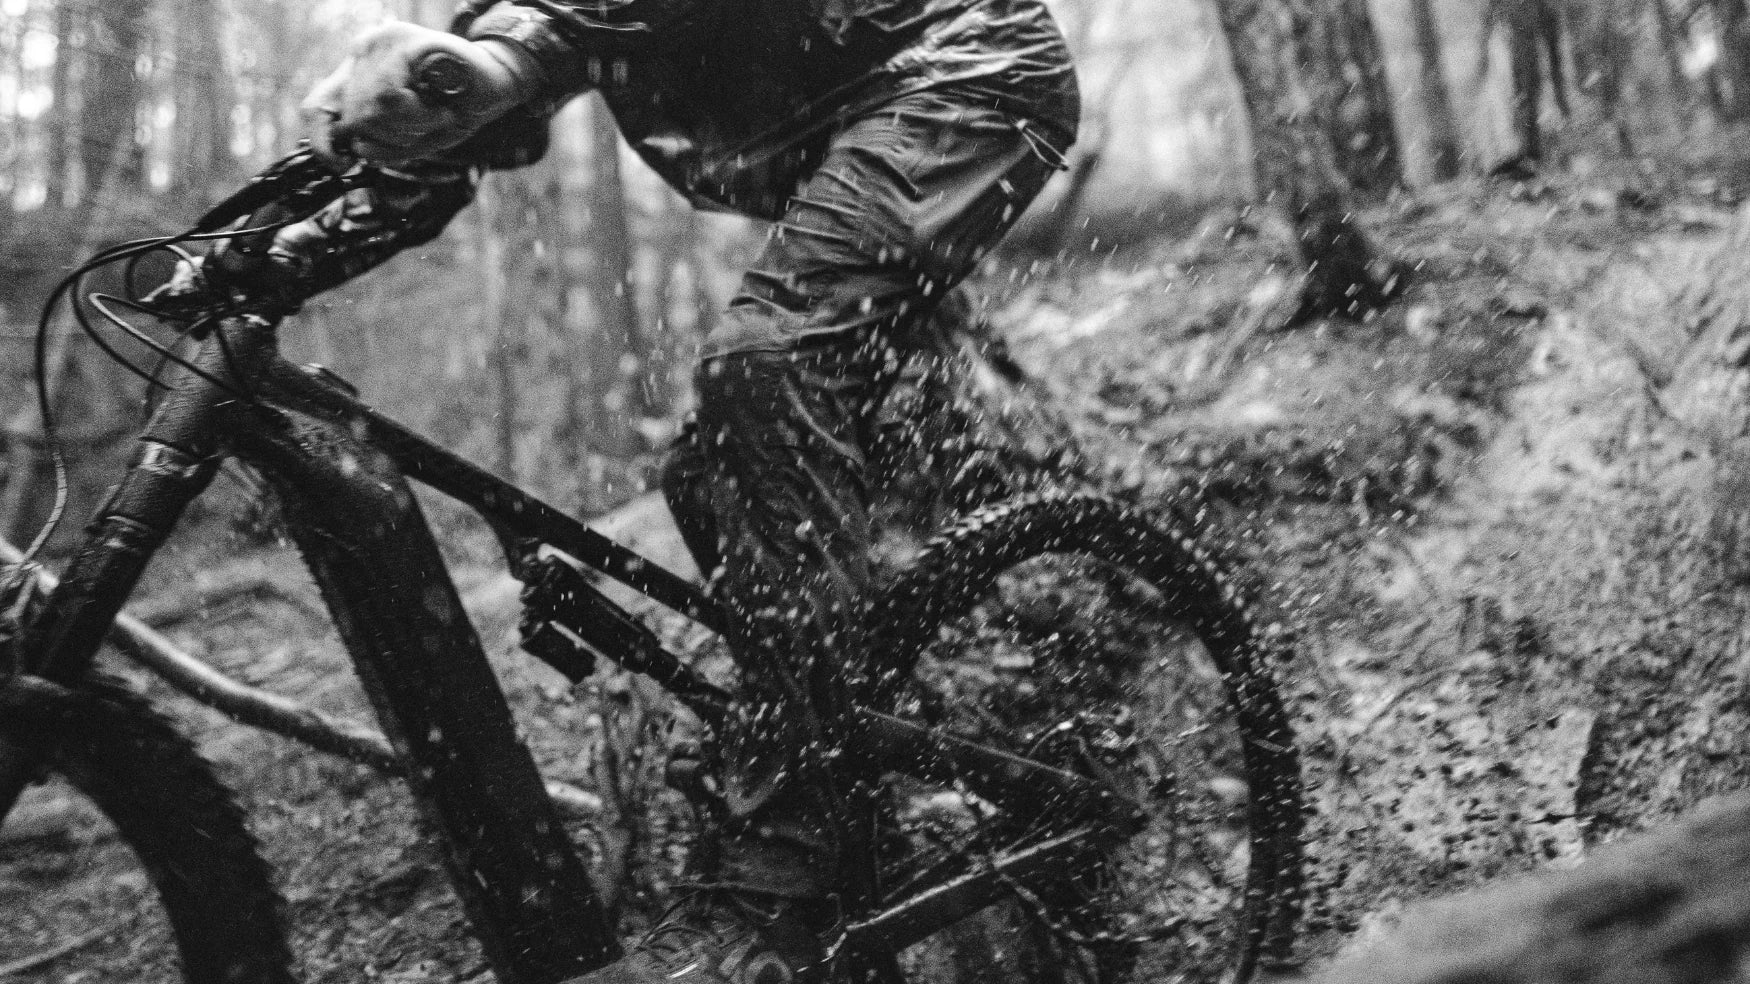


Tubeless Setup Should Not Be a Wrestling Match. Here’s How to Get It Right.
Tubeless has a reputation for being messy, stubborn, and a little intimidating. It does not have to be. Use the right parts, work in the right order, and the whole thing starts to make a lot more sense.

There are two kinds of tubeless setups. The first takes 25 minutes, ends with two seated beads, and makes you wonder why you ever ran tubes. The second involves sealant on the floor, a valve core under the workbench, and a tire that refuses to pop no matter how hard you pump.
The difference is usually not luck. It is process.
WTB’s TCS system exists to remove as much of that guesswork as possible. TCS tires, rims, tape, valves, and sealant are designed to work together, which means you are not mixing parts and hoping the bead, tape, and sealant all agree with each other.
Here is the full process, start to finish.
What You Are Actually Doing
You are turning the inside of your tire into an airtight chamber. The rim tape seals the spoke holes. The valve gives you a removable air path. The tire bead locks against the rim. The sealant handles the tiny leaks and punctures that happen once you start riding.
That is it. No black magic. No secret shop-only trick. Just a few steps that need to happen in the right order.
The short version - Clean the rim, tape it cleanly, install the valve, mount the tire dry, add the right amount of sealant, inflate fast enough to seat the bead, then shake and spin the wheel so the sealant reaches the places air wants to escape.
What You Need Before You Start
Get everything on the bench before you pull the tire off. Needing a valve core remover after your hands are covered in sealant is how the fun leaves the room.
|
What you need |
What to use |
|---|---|
|
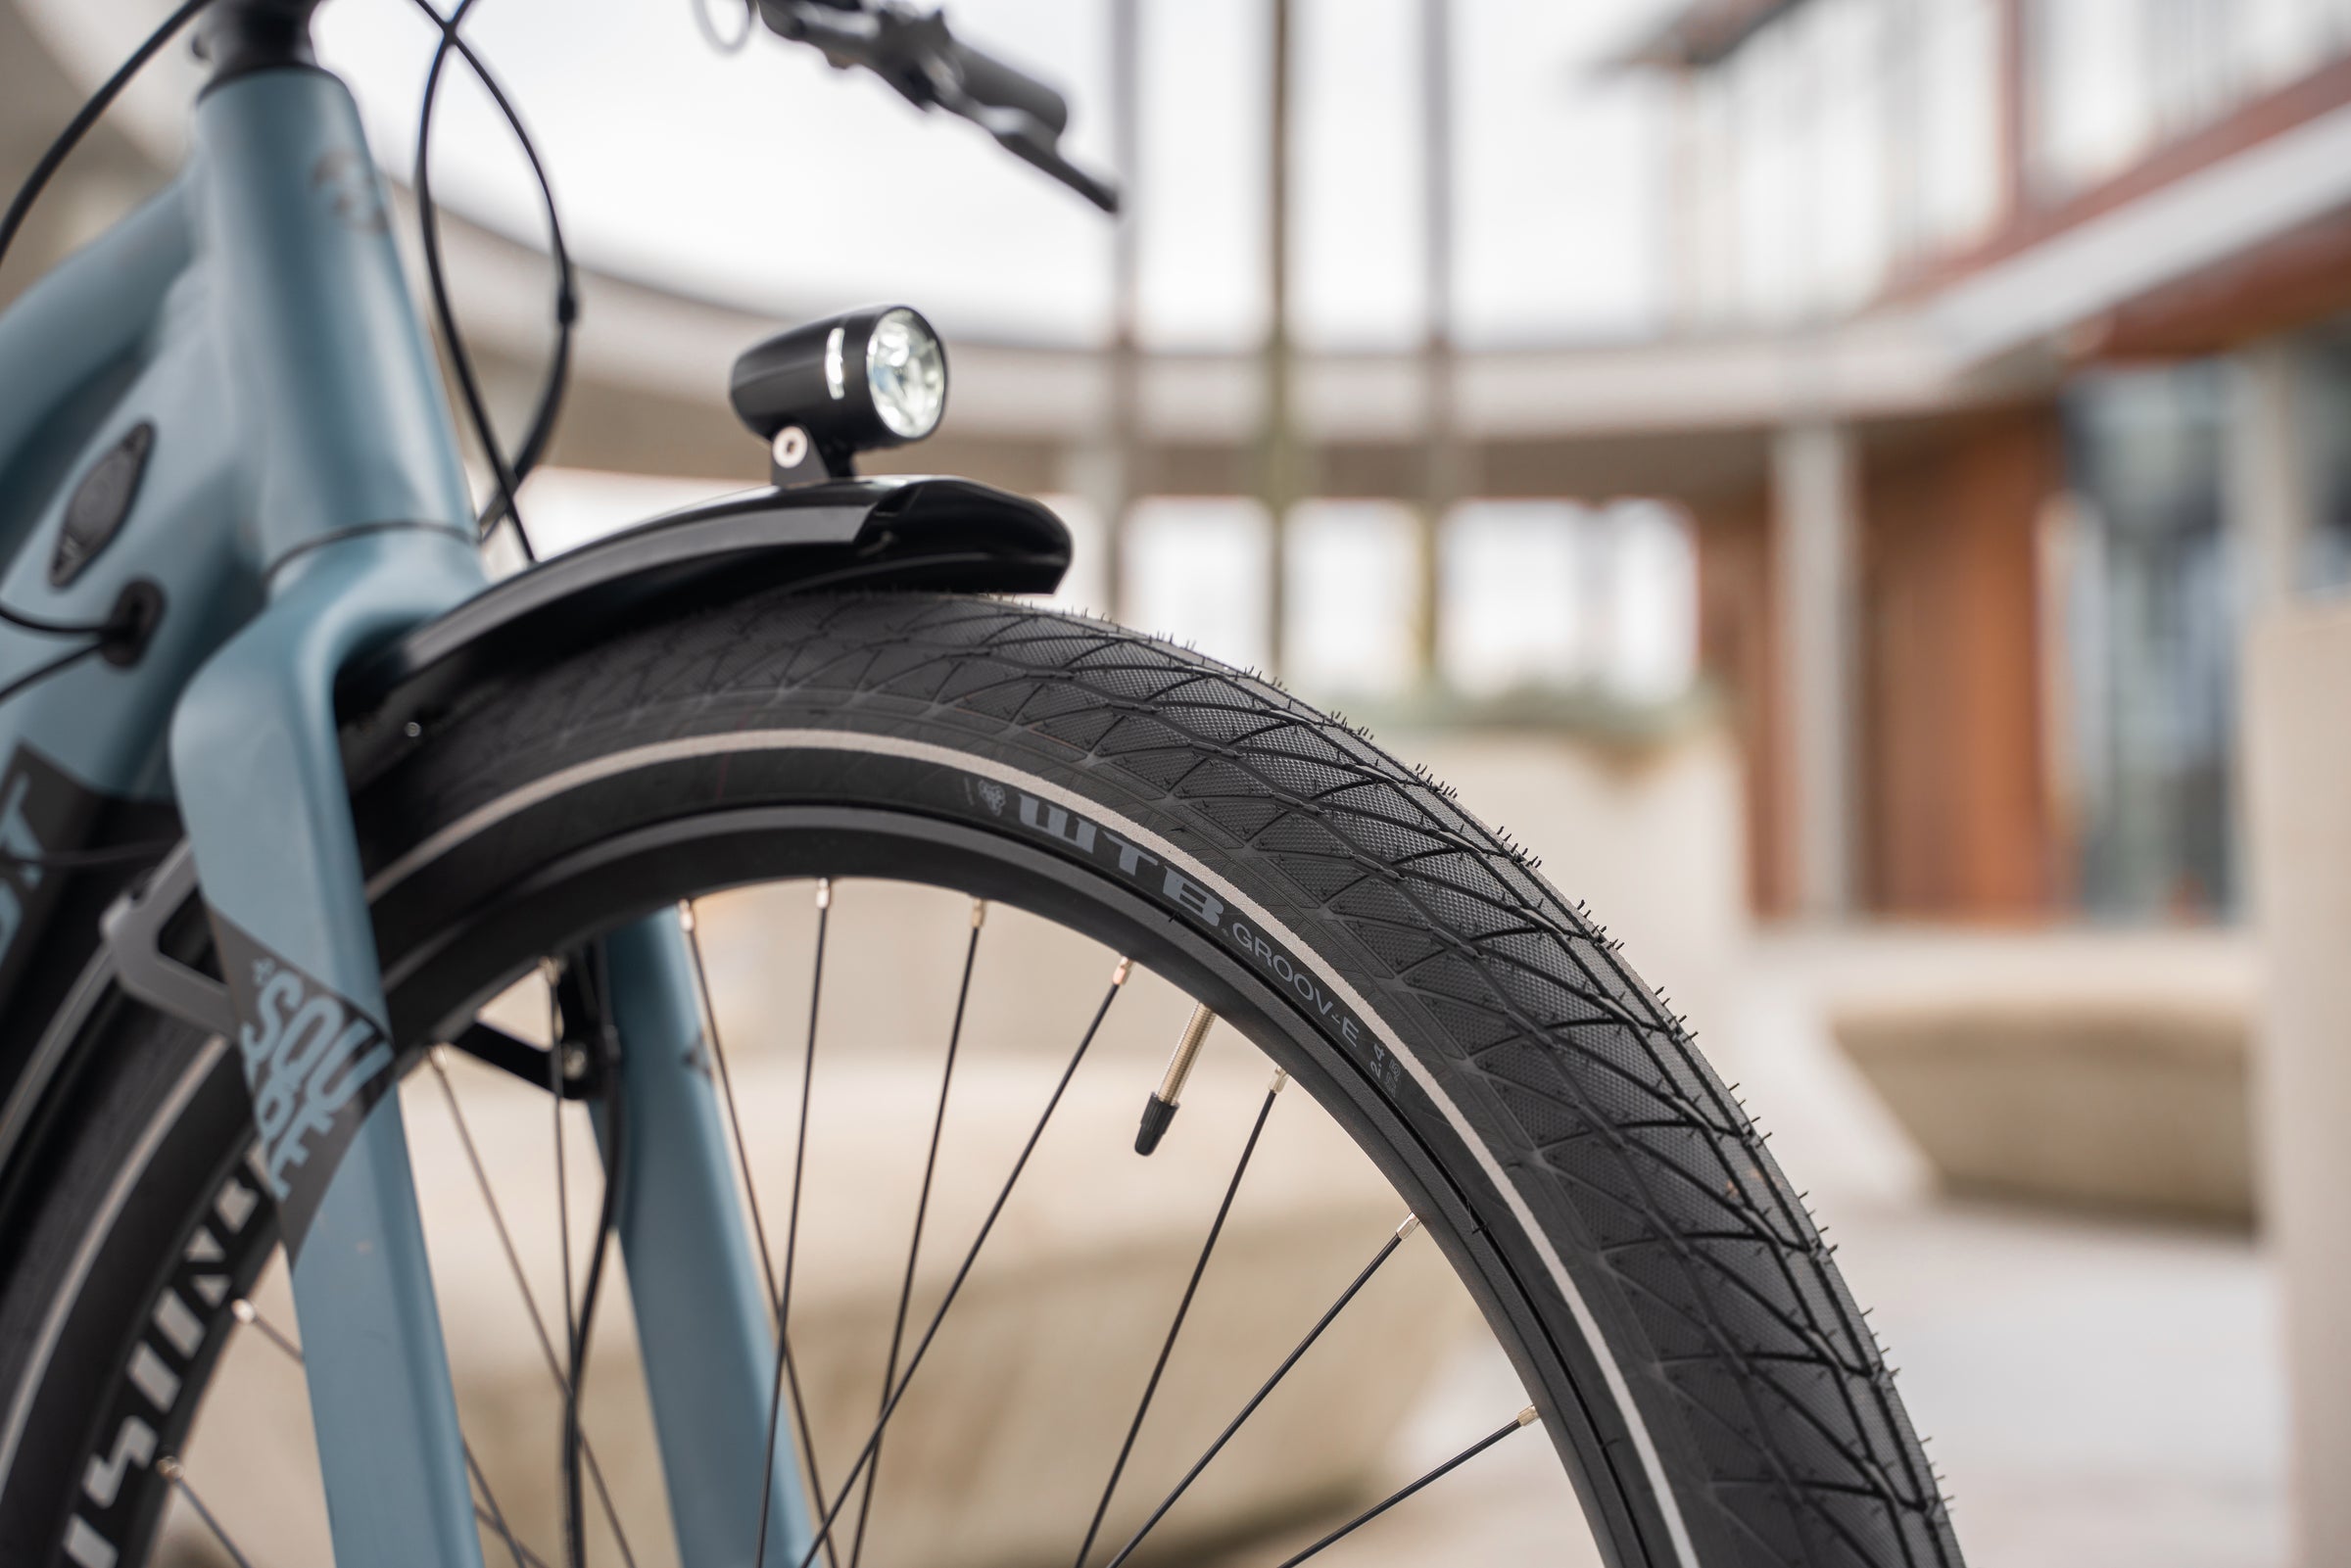
Tubeless-ready rim |
WTB TCS rim with Solid Strip, identified by the TCS marketing. |
|
Tubeless-ready tire |
Any WTB tire with TCS on the sidewall, including Vulpine S, Vulpine, Raddler, and more. |
|
Rim Tape |
WTB TCS Rim Tape, sized 5mm wider than your inner rim width. The 11m roll covers five wheels. |
|
Tubeless valves |
WTB TCS Valves in 34mm or 46mm, or TCS Max-Flow Valves if you run inserts or want easier airflow. |
|
Sealant |
WTB TCS Tubeless Tire Sealant. Use 1.5-2.5oz for gravel and 2-4oz for MTB, depending on tire volume. |
|
Pump or compressor |
A compressor or boost-chamber pump seats beads fastest. A strong floor pump works for many TCS setups. |
|
Valve core remover |
Included in the TCS Max-Flow cap and built into the 4oz and 8oz sealant bottle injector lids. |
|
Isopropyl alcohol and rag |
For cleaning the rim bed before tape goes anywhere near it. |
|
Tire levers |
Optional, but worth having nearby. Most TCS tire and rim combinations mount by hand. |
Standard TCS Valve or TCS Max-Flow? The standard TCS Valve is the reliable everyday option: aluminum body, stepped locknut, removable core, and 34mm or 46mm lengths. The TCS Max-Flow Valve adds a castellated base for better multi-directional airflow, especially with inserts, plus an integrated core remover in the cap and a hand-friendly locknut. If you run inserts or want the cleaner setup experience, go Max-Flow.
The Setup Process
Step 1: Strip the rim and clean it like you mean it
Remove the tire, tube, and old rim strip. Then clean the rim bed with isopropyl alcohol and a clean rag. This is not a courtesy wipe. Tape only works if it can stick to a clean surface. Oil, dust, old adhesive, and shop grime all become slow leaks later.
TCS tip: On TCS 2.0 rims, install the Solid Strip before taping. It covers the spoke holes with a rigid layer, helps prevent tape sag, and adds another barrier between the tube-free tire chamber and the rim bed.
Step 2: Apply the rim tape
Choose tape that is 5mm wider than your inner rim width. Start opposite the valve hole and pull the tape tight enough to lie flat without wrinkles. Work around the rim with steady pressure, pushing the tape into the center channel as you go. Overlap the starting point by 50-75mm.
TCS tip: One clean pass is enough. Two passes can make the rim bed too tall and turn bead seating into a fight.
Step 3: Puncture the valve hole and install the valve
Mark the center of the valve hole through the tape, then pierce it with a pick or cut a small cross with a sharp blade. Do not carelessly slash the tape open. Thread the valve through from the inside of the rim and tighten the locknut by hand until it is snug. Remove the valve core and put it somewhere it cannot disappear.
TCS tip: Taking the valve core out is not optional. It lets a lot more air into the tire quickly, which is exactly what you need when seating the bead.
Step 4: Mount the tire dry
Mount one bead, then work the second bead on by hand. Start opposite the valve and finish at the valve. If the tire feels impossibly tight, push both beads into the deepest part of the rim channel. That creates the slack you are looking for. Do not add sealant yet. A dry test fit keeps the setup clean if you need to adjust anything.
TCS tip: Leave a small section of bead open near the valve if you plan to pour sealant directly into the tire.
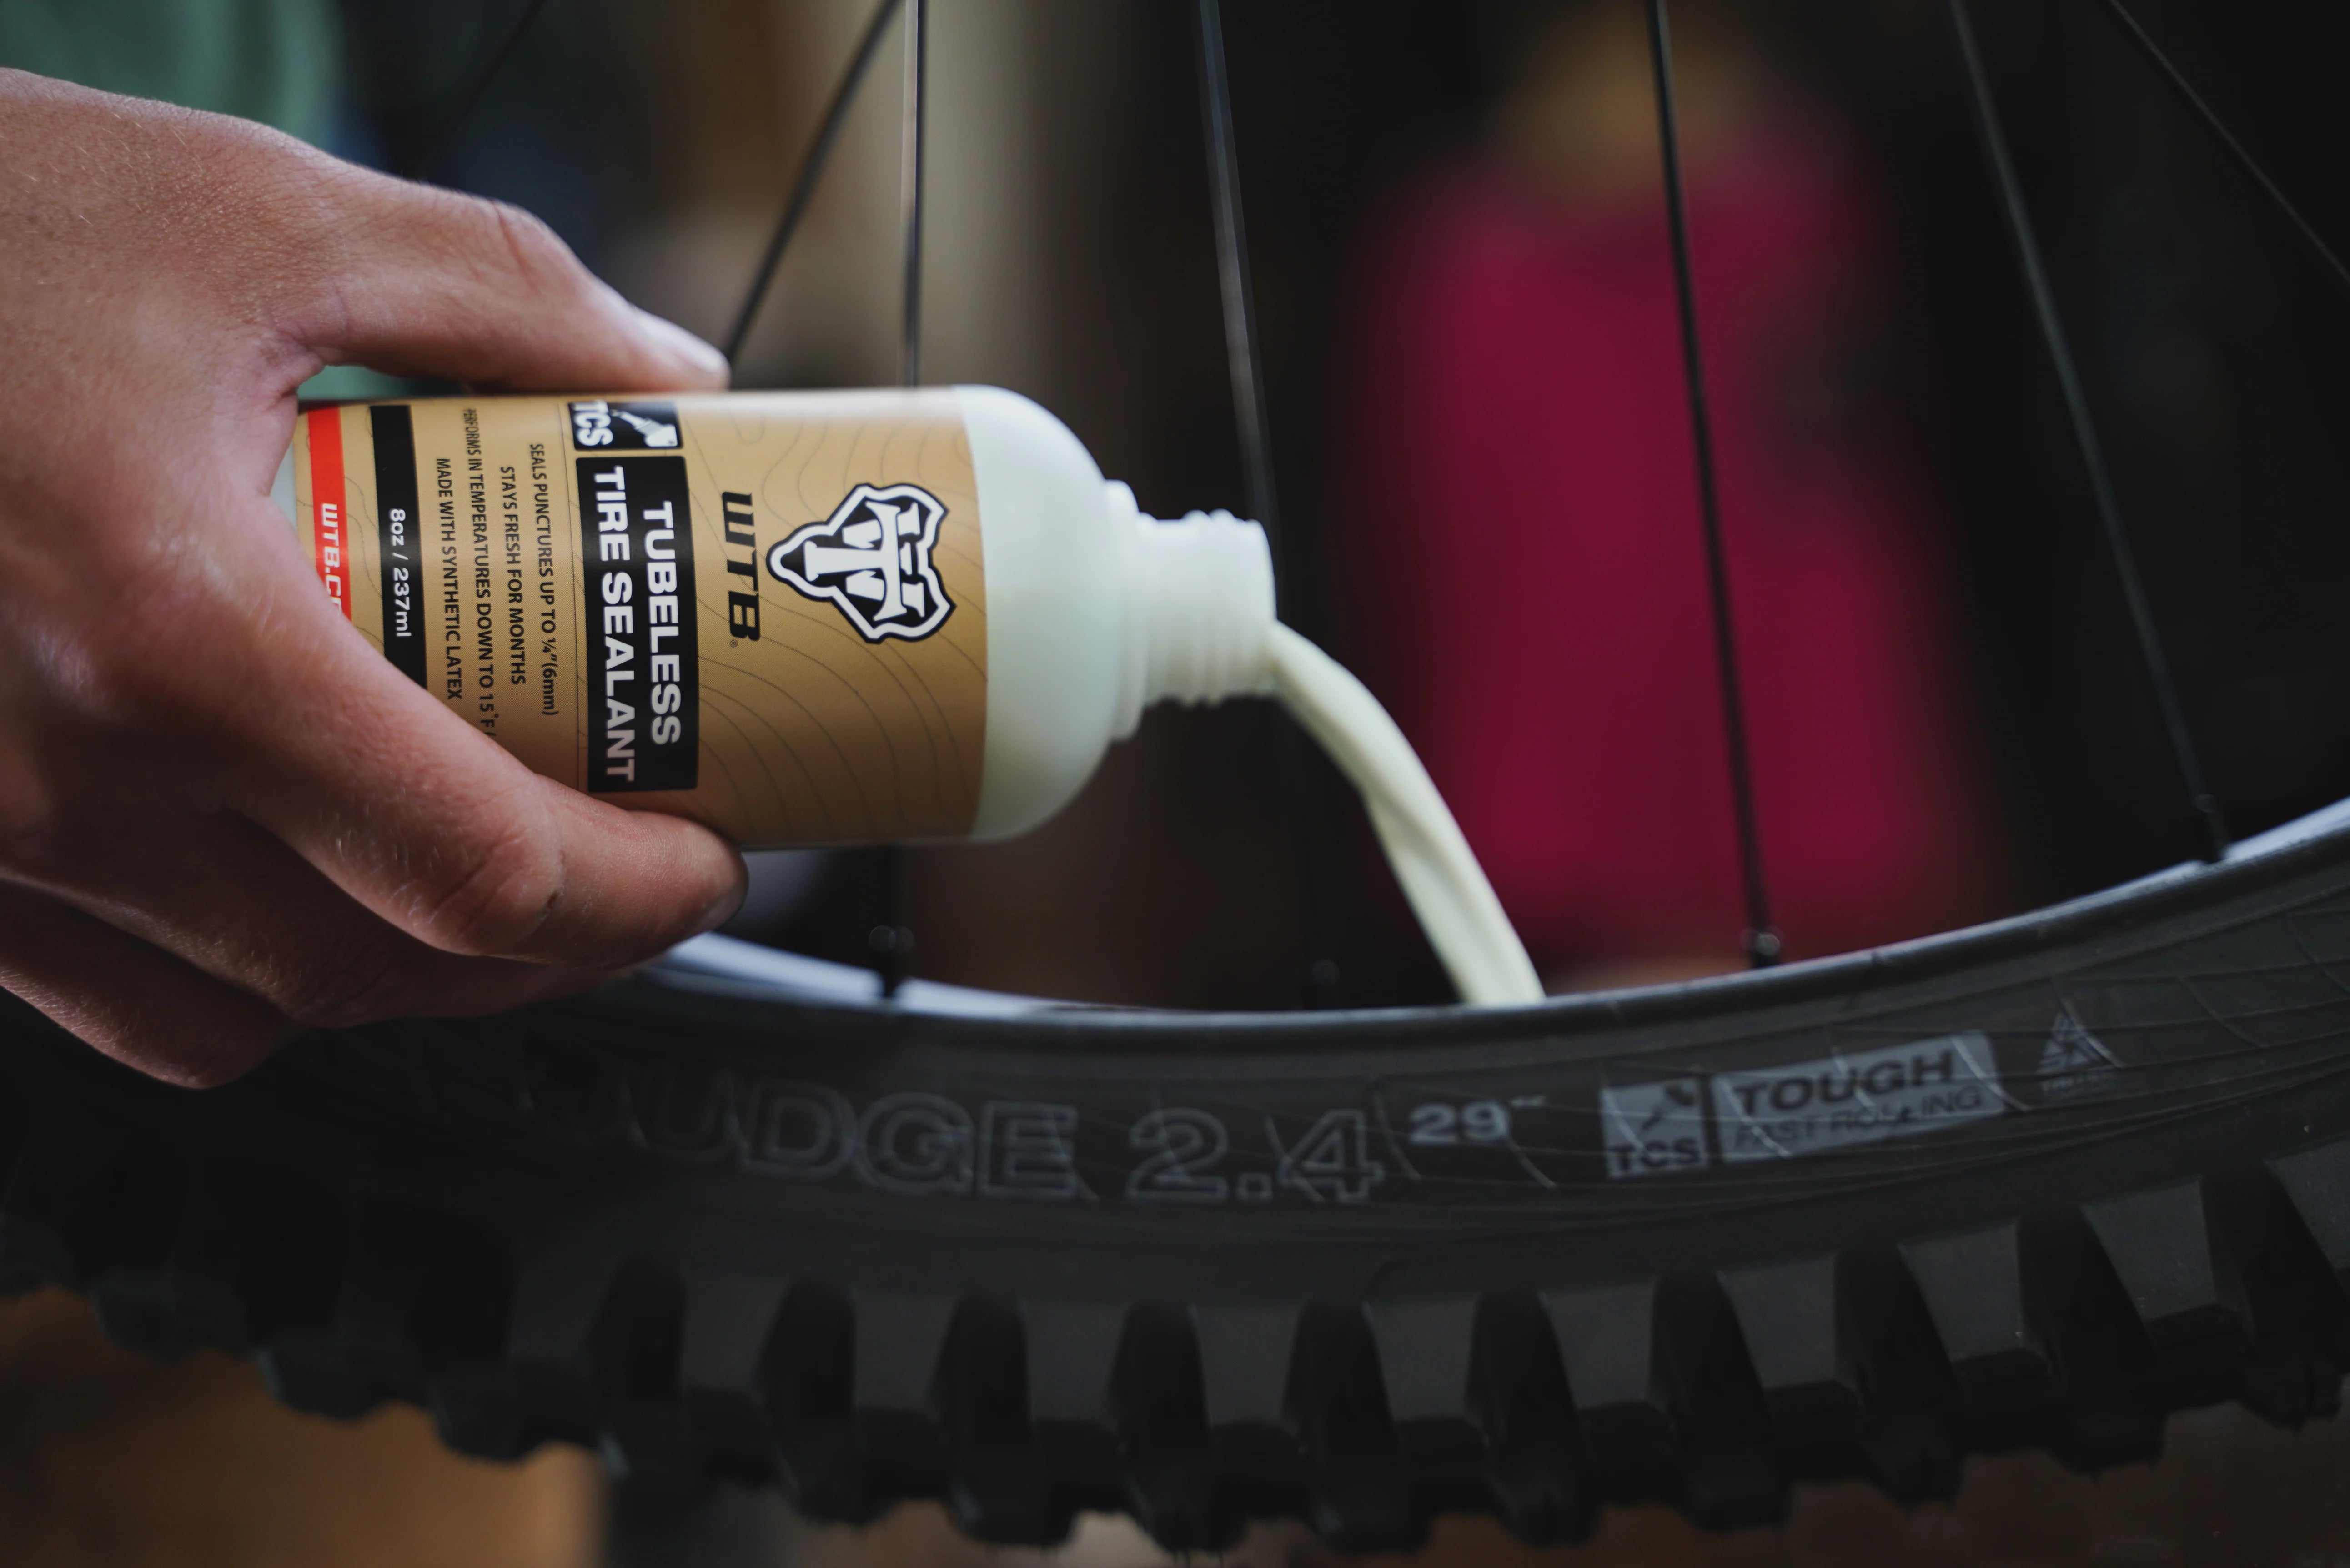
Step 5: Add the right amount of sealant
For gravel tires, start with 1.5-2.5oz. For MTB tires, use 2-4oz depending on tire volume. You can pour sealant through the small open bead section, then finish mounting the tire, or inject it through the valve after the bead is seated. The injector method is cleaner, but it usually works best when you already have the bead seated.
TCS tip: If in doubt, a little more is always better.
Step 6: Seat the bead with fast airflow
Inflate quickly. You are trying to push air into the tire faster than it escapes around the unseated bead. A compressor or boost pump makes this easier. A strong floor pump can work, especially with a good TCS tire and rim pairing. Inflate to 40-50 psi until both beads pop into place, then drop to your riding pressure.
TCS tip: If one side seats and the other does not, deflate, recenter the bead in the rim channel, and try again. That is usually a centering issue, not a sealant issue.
Step 7: Move the sealant everywhere air wants to leave
Once the bead is seated, shake, spin, and rotate the wheel so sealant coats the inside of the tire and bead area. Set the wheel down, check for hissing, and use soapy water if you want to find small leaks. Tiny bubbles around the bead often seal on their own as the sealant reaches the gap.
TCS tip: Check pressure the next morning. Losing 5-10 psi overnight can be normal on a fresh setup. Going completely flat means something did not seal, usually tape, valve, or bead. If that is the case, repeat Step 7, or pump up and go for a quick ride if possible.
Start Your Pressure Here
Tubeless lets you run lower pressure than a tube setup. That is the point. Lower pressure improves traction, comfort, and control, but only until it starts making the tire squirm or the rim hit the ground. Start in the ranges below, then adjust 2-3 psi at a time.
|
Discipline |
Tire width |
Front starting PSI |
Rear starting PSI |
|---|---|---|---|
|
Gravel/Fast |
40-45c |
35-40 PSI |
38-42 PSI |
|
Gravel/Adventure |
45-50c |
28-35 PSI |
30-38 PSI |
|
Trail MTB |
2.3-2.5 in |
22-26 PSI |
24-28 PSI |
|
Enduro MTB |
2.4-2.6 in |
18-23 PSI |
20-25 PSI |
These ranges assume a 155-185lb rider. If the bike feels skittery or harsh, drop pressure. If the tire folds in corners or you hear rim strikes, add pressure.
Sealant Maintenance is Part of the Deal
Tubeless is low maintenance, not no maintenance. Sealant dries over time, especially in heat, dry climates, and high-volume tires. Check it every 2-3 months, or sooner if a tire that used to hold air starts losing pressure overnight.
To check it, remove the valve core and dip in a pipe cleaner, zip tie, or thin stick. Wet sealant means you are good. Dry flakes or rubbery residue means it is time to top up. Old dried sealant does not need to be removed unless it is building up in chunks.
For top-ups, the 4oz bottle with an injector lid is the easiest option. For multiple bikes, 16oz, 32oz, or 128oz bottles make more sense.
Frequently Asked Questions
Tubeless is low maintenance, not no maintenance. Sealant dries over time, especially in heat, dry climates, and high-volume tires. Check it every 2-3 months, or sooner if a tire that used to hold air starts losing pressure overnight.
To check it, remove the valve core and dip in a pipe cleaner, zip tie, or thin stick. Wet sealant means you are good. Dry flakes or rubbery residue means it is time to top up. Old dried sealant does not need to be removed unless it is building up in chunks.
For top-ups, the 4oz bottle with an injector lid is the easiest option. For multiple bikes, 16oz, 32oz, or 128oz bottles make more sense.
What if the bead will not seat with a floor pump? You need more air faster. Remove the valve core, make sure the beads are in the rim channel, and use a compressor or boost-chamber pump. A bike shop or gas station compressor can solve this in seconds.
How much sealant do I need? Use 1.5-2.5oz for gravel tires and 2-4oz for MTB tires. Bigger tires need more sealant. The goal is enough liquid to pool slightly at the bottom of the tire, not a tire half full of fluid.
Can I use TCS sealant with non-WTB tires or rims? Yes. TCS sealant works with tubeless-ready tires and rims. It was developed as part of WTB’s complete system, but it is not limited to WTB-only setups.
How wide should my rim tape be? WTB recommends tape that is 5mm wider than your inner rim width. A 25mm internal rim gets 30mm tape. Too narrow risks leaving the bead shelf exposed.
How often should I top up sealant? Check every 2-3 months. Heat and dry conditions shorten that window. If a tire starts losing pressure faster than usual, check sealant first.
Get the Complete TCS Setup
Video Tutorials
Spreading sealant and sealing the tire
About WTB
Founded in 1982, WTB was formed in Marin County, the birthplace of mountain biking, to design better bicycle products. Renowned for saddles, tires, rims and grips, this rider-driven company continues to push the boundaries of what’s possible through an unrelenting spirit of innovation and passion for two-wheeled adventure.

